
Gitをインストールしてソースコードをバージョン管理しよう

Gitはとても便利なので覚えておいて損はないです!!
Windowsのインストール方法を案内します。
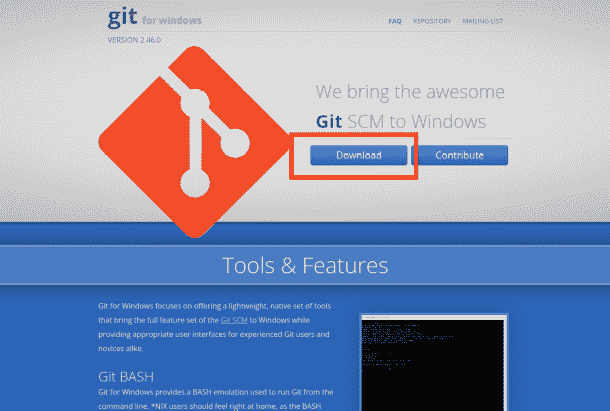
インストーラーをダウンロード
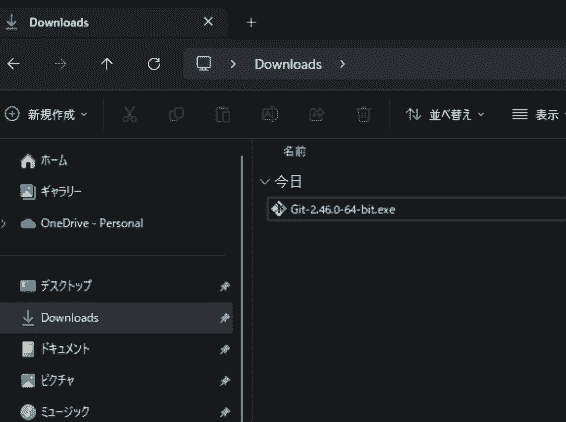
ダウンロードしたインストーラーをクリックして、起動しましょう。
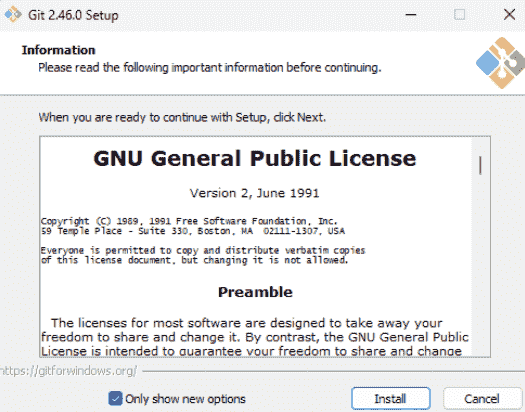
ライセンスについての表示です。「Install」ボタンを押しましょう
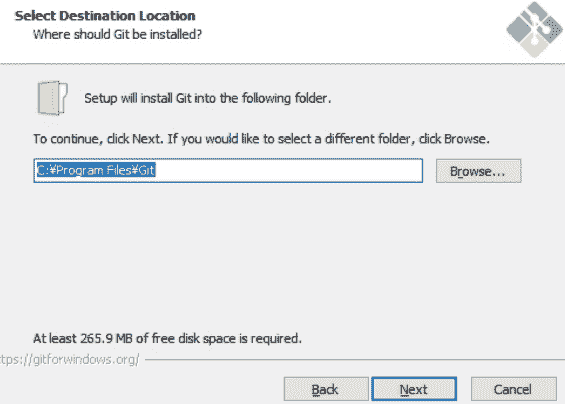
インストールするディレクトリを選択しましょう。
デフォルトの設定でOKです。
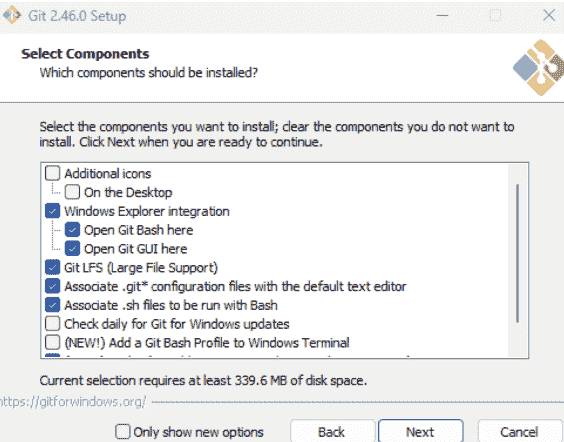
Select Components
デフォルトでOKです
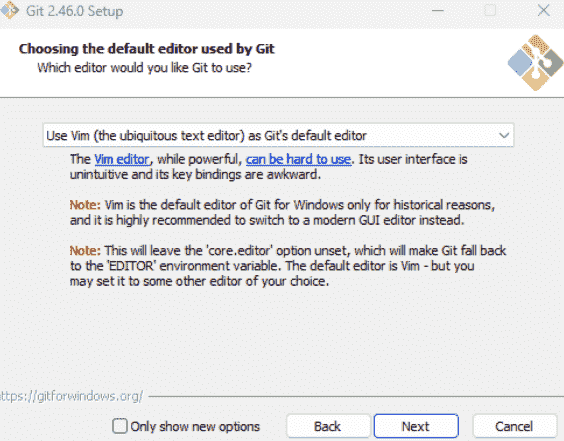
Gitが使用するデフォルトのテキストエディタを選択できます。
デフォルト(Vim)または、VSCodeを選択するのがおすすめです。
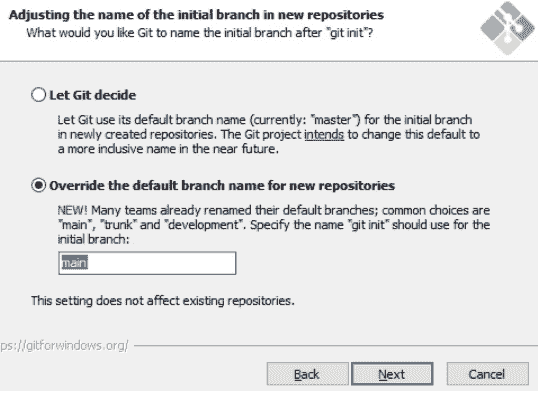
「Override the default branch name for new repositories」でmainにするのが良いかなと思います。
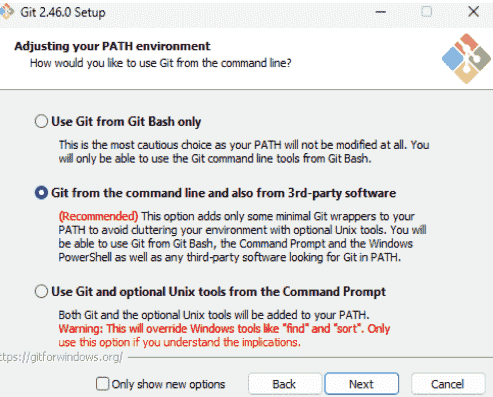
「Git from the command line and also from 3rd-party software」を選択
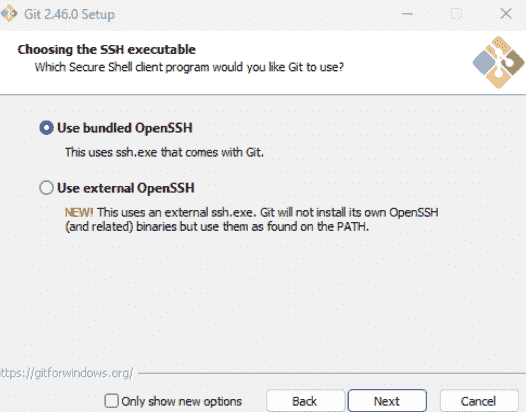
「Use bundled OpenSSH」を選択
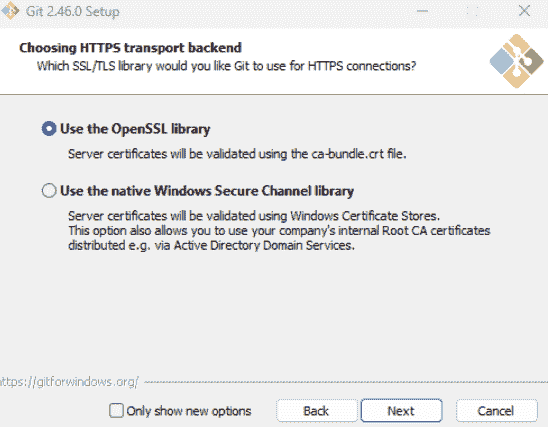
「Use the OpenSSL library」を選択
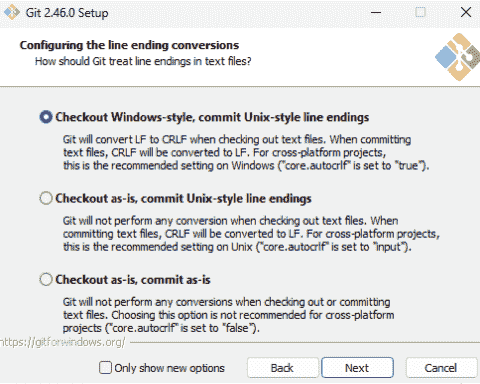
「Checkout Windows-style, commit Unix-style line endings」を選択
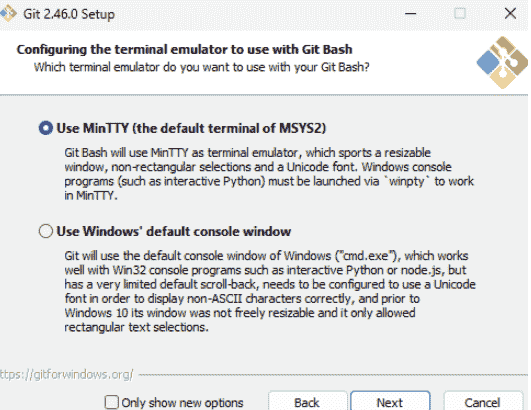
「Use MinTTY (the default terminal of MSYS2)」を選択
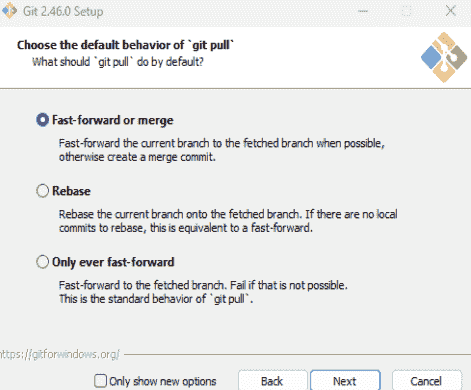
「fast-forward or merge」を選択
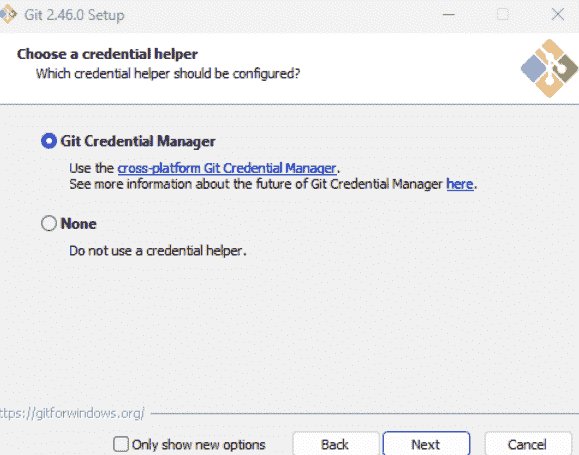
「Git Credential Manager」を選択
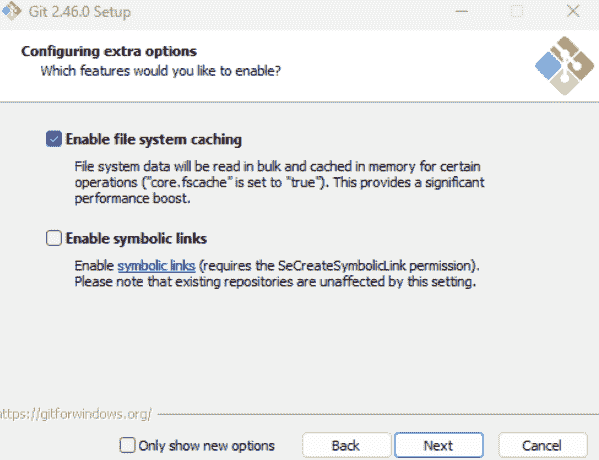
「Enable file system caching」を選択
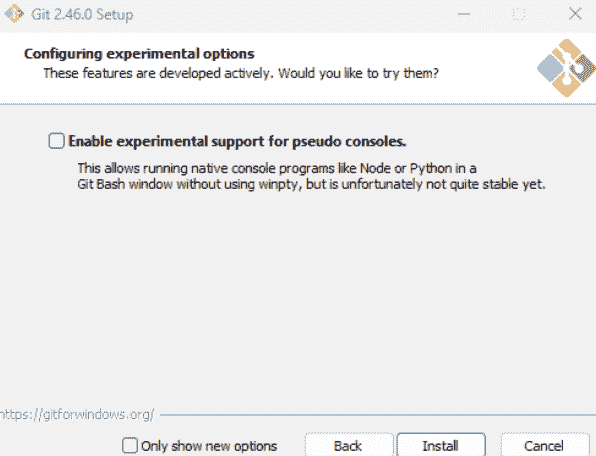
何もチェックせずに「Install」を押す
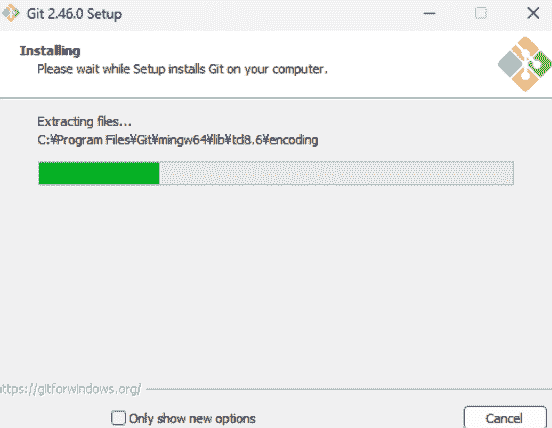
インストール開始
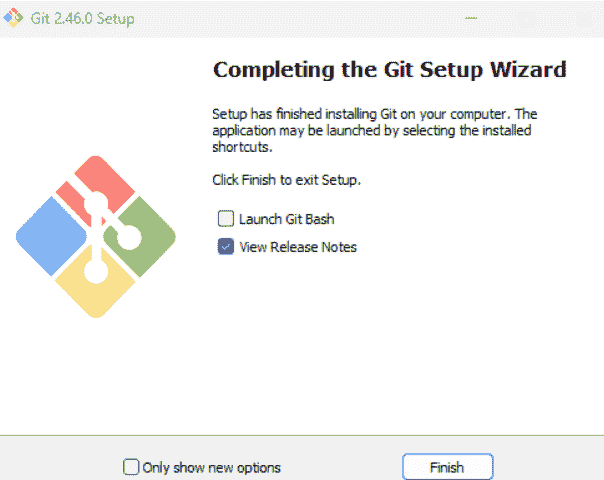
この画面が出たらインストール完了
PowerShellなどで、
git -vでバージョン情報が表示されたら無事にインストール完了。
💡バージョンが出ない方はPowerShellが起動したままで、パスが反映されていないかも知れないので一度PowerShellを再起動しましょう。
GitHubに登録済の方は、下記のコマンドでconfigに登録しておくと良いです。
git config --global user.name "ユーザー名"

git config --global user.email "メールアドレス"

# 登録確認
git config --global -l
(入力例)
git config --global user.name "yuuki"

git config --global user.email "yuuki@example.com"